
Radiant Heater Fan Blower Troubleshooting: 4 Things to Check
Introduction
A radiant heater blower that will not start is not always a bad blower. A pressure switch stuck closed can prevent startup, while a blower that runs may still fail to produce enough airflow to keep the heater operating through ignition.
These four checks help narrow down the cause on a Detroit Radiant Products low-intensity radiant tube heater: verify the pressure switch’s starting position, check blower power, inspect the blower’s mechanical condition, and measure differential pressure.
Safety first: Gas-fired equipment and electrical components should be serviced only by qualified personnel following the manufacturer’s instructions and local codes. Voltage testing involves energized components. Disconnect power before continuity testing, disconnecting wires, inspecting, or cleaning. Use the model-specific service instructions available through Detroit Radiant Products to confirm the correct procedure and test points.
Key Takeaways
- A pressure switch stuck closed can prevent the blower from starting.
- A stationary blower receiving 120 volts is likely faulty and needs replacement.
- Grinding noise and restricted wheel rotation indicate a blower that needs replacement.
- Differential pressure should remain at least 0.15 inches of water column above the switch set point.
1. Check Whether the Pressure Switch Is Stuck Closed
Starting symptom: The heater has a verified 120-volt supply and a call for heat, but the fan blower does not start. The pressure switch light is on.
Early in the operating sequence, the circuit board checks that the pressure switch is open. If the switch is already closed before the blower starts, the board cannot verify the expected starting condition. That can keep a perfectly functional blower from turning on.
To check the switch:
- Disconnect power and isolate the pressure switch electrically as directed by the manufacturer so the meter reads the switch rather than another circuit path.
- Set a multimeter to continuity.
- Place the probes across the two pressure switch terminals.
- Check whether there is continuity while the blower is off and the switch should be open.
Continuity in this condition indicates that the switch is remaining closed when it should be open.
A further diagnostic check is whether opening the switch circuit allows the blower to start. In the demonstrated fault, disconnecting one pressure switch wire allowed the blower to run, confirming that the stuck-closed switch was preventing startup.
Any such confirmation must be performed by a qualified technician under the manufacturer’s service procedure, with power disconnected before changing connections. It is a diagnostic check, not an operating configuration. A confirmed faulty pressure switch needs replacement; do not leave safety-switch wiring disconnected.
2. Verify That Power Is Being Sent to the Blower
Starting symptom: There is a call for heat, the pressure switch is not stuck closed, and the blower still does not run.
The next question is straightforward: is the circuit board sending power to the blower?
On the heater demonstrated, voltage is checked with one multimeter probe at the circuit board’s F2 terminal and the other at ground. This is an energized test for qualified personnel. Confirm the terminal identification and approved measurement method in the heater’s wiring diagram before proceeding.
- Approximately 120 volts present, but no blower operation: This points to a likely failed blower that needs replacement.
- Expected voltage not present: The test has not established a failed blower. Continue diagnosis using the manufacturer’s electrical troubleshooting procedure rather than replacing the blower on that result alone.
The important distinction is between a blower that is not receiving power and one that is receiving power but cannot run.
3. Inspect the Fresh Air Inlet and Blower Condition
Starting symptom: The blower starts, but the heater drops out during ignition.
Before measuring airflow performance, check the physical condition of the air inlet and blower. Disconnect the heater from power before starting this inspection.
Check the Fresh Air Inlet
Inspect the fresh air inlet for debris or buildup. Clean it as necessary before continuing. An obstructed inlet needs attention before you can fairly assess the blower’s performance.
Check How Freely the Blower Turns
A good blower is clean, and its wheel spins freely for multiple revolutions when turned by hand. A blower that makes a grinding noise and stops quickly instead of rotating freely shows signs of mechanical trouble.
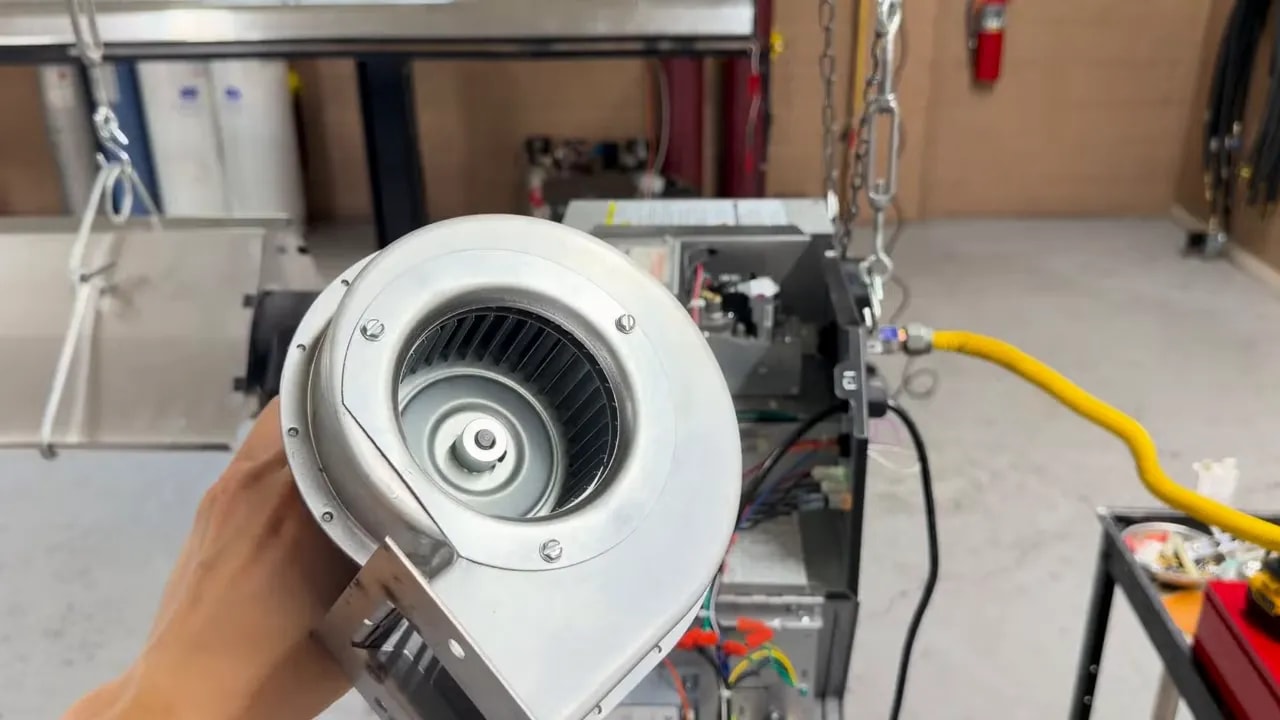
Listen and feel as you check it. Grinding and restricted rotation are replacement indicators, not simply signs that the wheel needs cleaning.
Clean the Squirrel Cage When Necessary
If the blower needs cleaning, hold the squirrel cage stationary while applying compressed air. In the demonstrated method, the wheel is restrained with a finger against its inside surface so the air does not spin it during cleaning. Keep the blower disconnected from power and follow the manufacturer’s cleaning instructions.
Cleaning addresses buildup. It does not correct a blower that grinds or no longer turns freely.
4. Measure Differential Pressure Through Ignition
A blower can turn on and still fail to move enough air. After the visual and mechanical checks, verify that it produces enough differential pressure to keep the pressure switch closed throughout ignition.
Use a manometer to measure differential pressure across the two pressure switch ports, following the heater’s service procedure for the tubing connections and operating test.
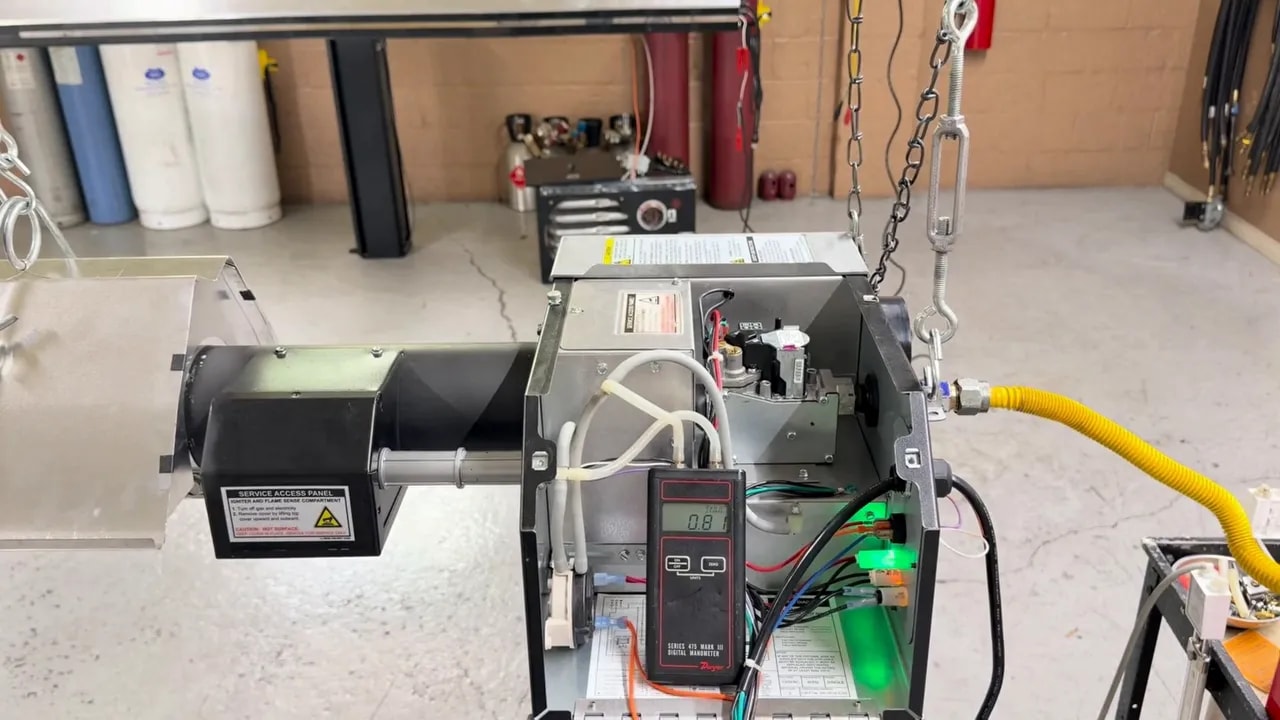
For this troubleshooting procedure, the differential pressure should be at least 0.15 inches of water column above the pressure switch set point.
That is a margin above the switch’s set point, not a total reading of 0.15 inches of water column. Compare the measurement with the set point specified for the installed switch, and check that the required margin is maintained through ignition.
If the blower does not achieve that margin after the inlet and blower condition have been checked, this procedure identifies the blower as deteriorating and needing replacement. Simply seeing the wheel turn is not enough to establish that it is doing its job.
Diagnose the Fault Before Replacing Parts
Work from the symptom. If the blower will not start, first check the pressure switch’s initial state, then verify the electrical supply to the blower. If the blower runs but the heater drops out during ignition, inspect the inlet and wheel, then measure differential pressure.
That sequence separates a switch problem from a power problem, mechanical wear, or insufficient blower performance. The goal is to confirm why the heater is stopping before deciding which part needs replacement.
Need Help Troubleshooting a Radiant Heater Fan Blower?
If your radiant tube heater blower won’t start, makes a grinding noise, or allows the heater to drop out during ignition, identifying the cause is the first step toward getting it running properly.
Great Lakes Radiant provides radiant heating equipment, replacement parts, and technical support to help contractors and heating professionals diagnose equipment issues and find the right replacement components.
📞 (888) 501-0252
📧 sales@glradiant.com
🌐 www.glradiant.com